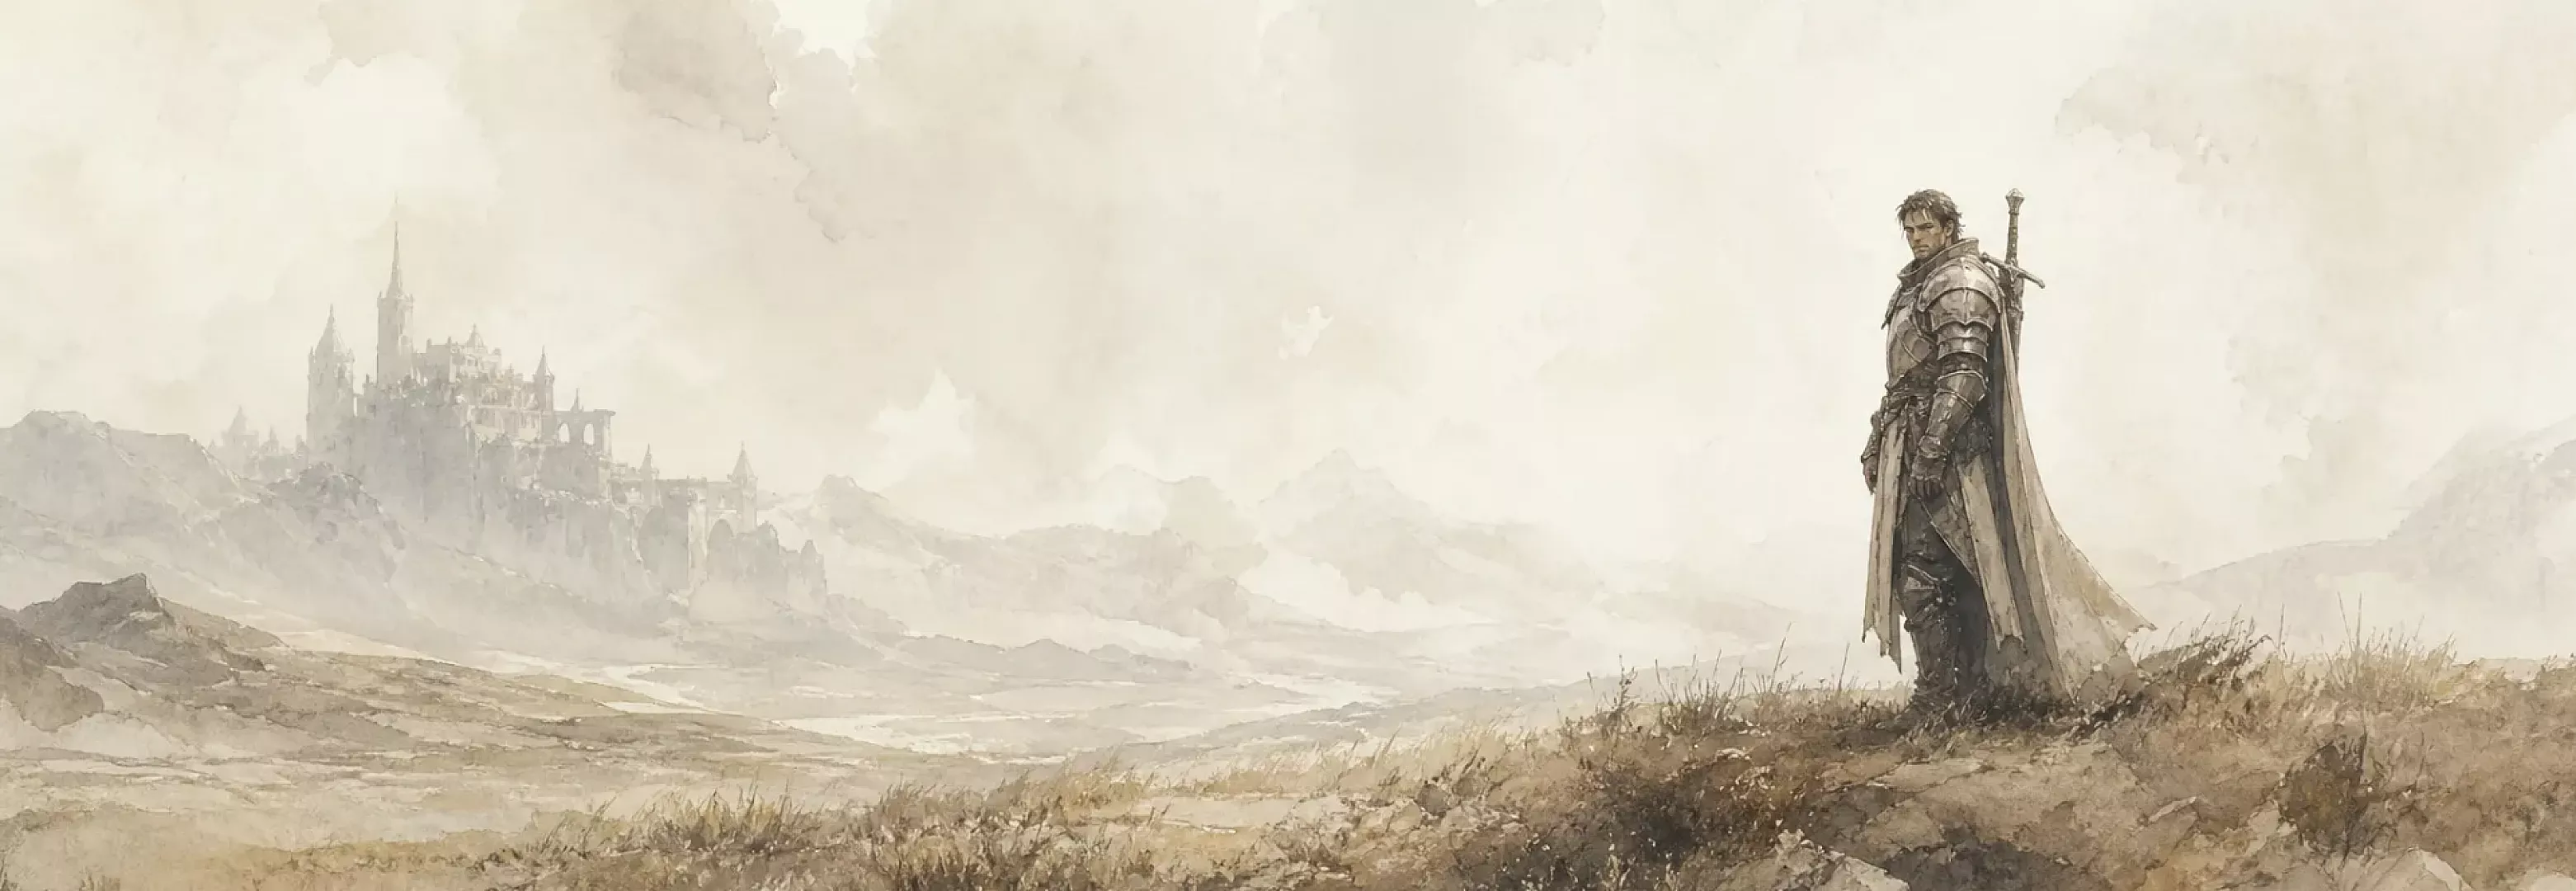
Kaelen Thornwood is already sitting in your account. He's the sample character every new signup gets, so you've got him too. He even comes with a bit of sample art, which makes him a perfect first subject.
By the end of this walkthrough you'll have swapped that sample art for a portrait you made yourself. You'll pick the style, generate it, and set it as his main image so it shows up on his card and his public Codex page.
We'll build that one portrait from start to finish. Every step is just the next thing you do to get Kaelen's picture made. Follow along on the real character in your own account.
Open the artwork tab
Open Kaelen's studio and you'll see the tabs across the top. They read Details, Artwork, Miniature, Sheet, Codex. Click Artwork.
You don't have to type anything to get going. Kaelen already has his details filled in, so the app writes a first draft of the prompt for you the moment you land on the tab. The box shows "Thinking…" for a second. Then a prompt appears that already describes him.
This one's free. It's a quick text write, not one of your credit-charged image generations. Nothing gets spent just by opening the tab and reading what it came up with.
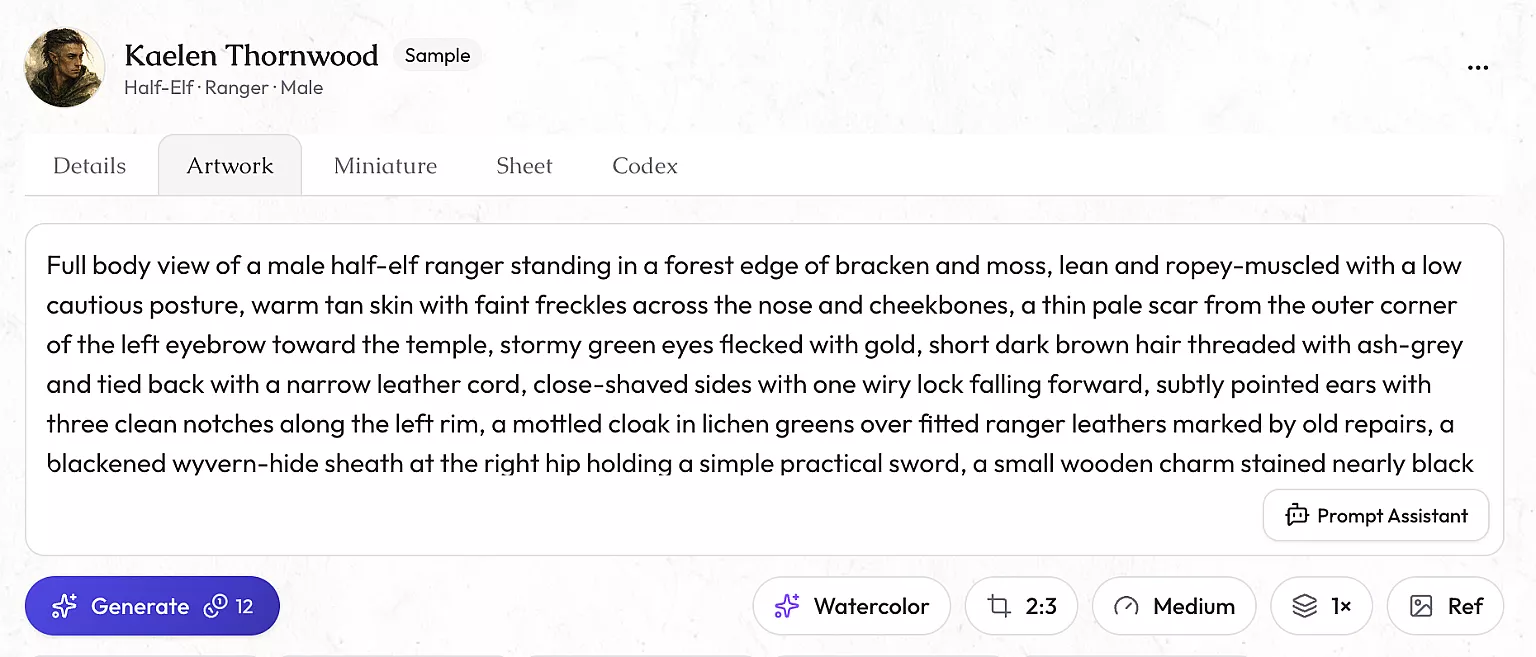
It pulls from Kaelen's race, class, and backstory, so it already sounds like him instead of some random adventurer. You're not staring at an empty box wondering what to type.
One thing worth knowing for later. The prompt is tied to the details you had saved when it was written. If you change Kaelen's race, class, gender, or alignment later on, the saved prompt clears itself so it isn't left describing a version of him that's gone. You'd just land back on this same auto-written prompt next time you open Artwork.
And the prompt is yours now. It's a starting point, not a final answer, and we'll steer it in a moment. First, let's decide what Kaelen actually looks like.
Pick a style
The style is the part that really decides the look. Everything else is fine-tuning. So pick it before you touch the prompt.
Look for the pill above the prompt showing the current style name. It should already read "Classic" for you, since that's the default. Tap it to open the "Style" picker. It lists all six house styles. They are Anime, Pixel Art, Classic, Ink, Oil Painting, and Gothic.
Classic is dndplaybook's own look, a flowing watercolor on a smokey white background. It's where most people land for a straightforward hero portrait. Ink strips things back to black-and-white pen work, like a plate out of an old sourcebook. Pixel Art goes full retro 16-bit. Anime, Oil Painting, and Gothic each pull from their own tradition, so it's worth clicking through a couple before you settle.
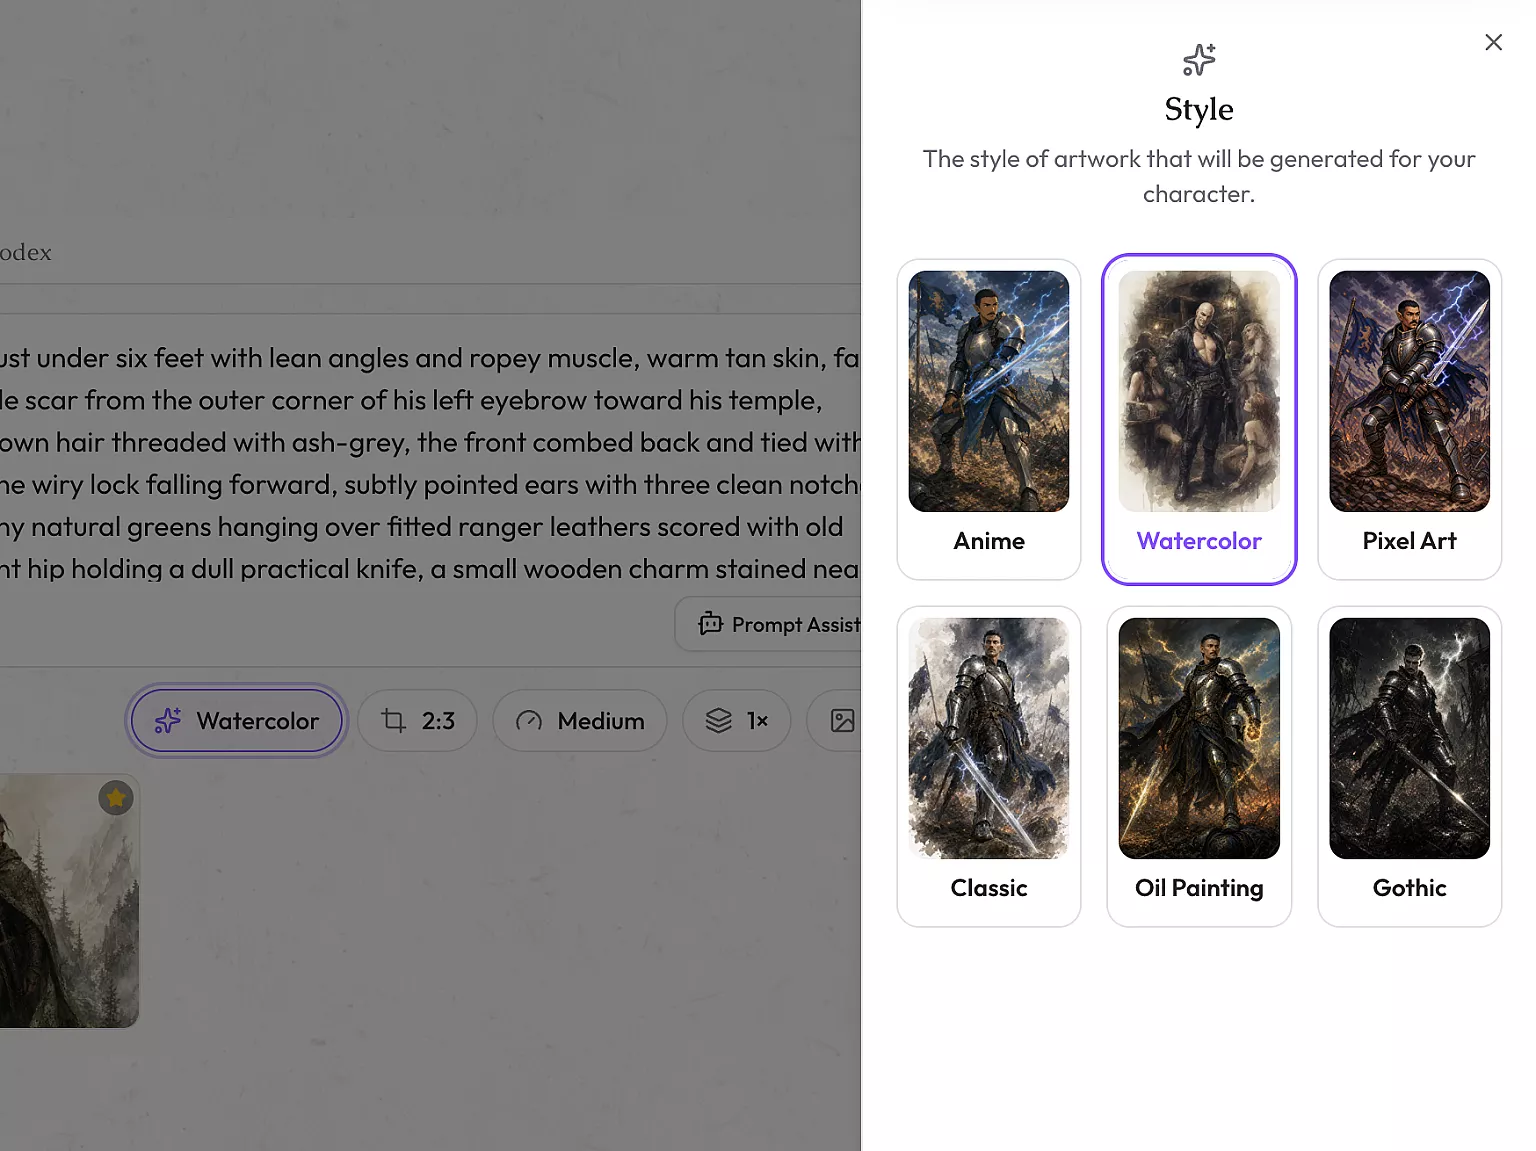
Switching styles doesn't cost anything. You only spend credits when you actually generate an image. So flip through Ink, Gothic, whatever catches your eye, and watch the name in that pill change. If Kaelen's a grim frontier scout, maybe Gothic fits him better than Classic. If you're not sure, leave it on Classic and move on. You can always come back and try another. We'll stick with Classic here.
The prompt
That block of text in the prompt box isn't locked. It's a plain box, so click into it and type whatever you want changed. Want Kaelen facing the camera instead of turned away? Holding his weapon instead of standing empty-handed? Just type it in. The prompt is yours to write however you like.
If you'd rather not hand-write prompt language, there's a shortcut right next to the box. It's called Prompt Assistant. Tap it and a picker opens, titled "Prompt Assistant". It reads "Pick a suggestion to steer the rewrite, or type your own instruction below." Underneath are one-tap suggestions grouped into "Framing & Composition," "Setting," "Lighting," "Tone," and "Ideas." Think a closer crop, a torchlit interior, a moodier feel. Tap whichever ones sound right for Kaelen. There's also a free-text box with the placeholder "Or describe what you'd like changed… (optional)" if a pill doesn't quite say what you mean. When you're happy with your picks, hit Rewrite. The prompt updates with your steer folded in.
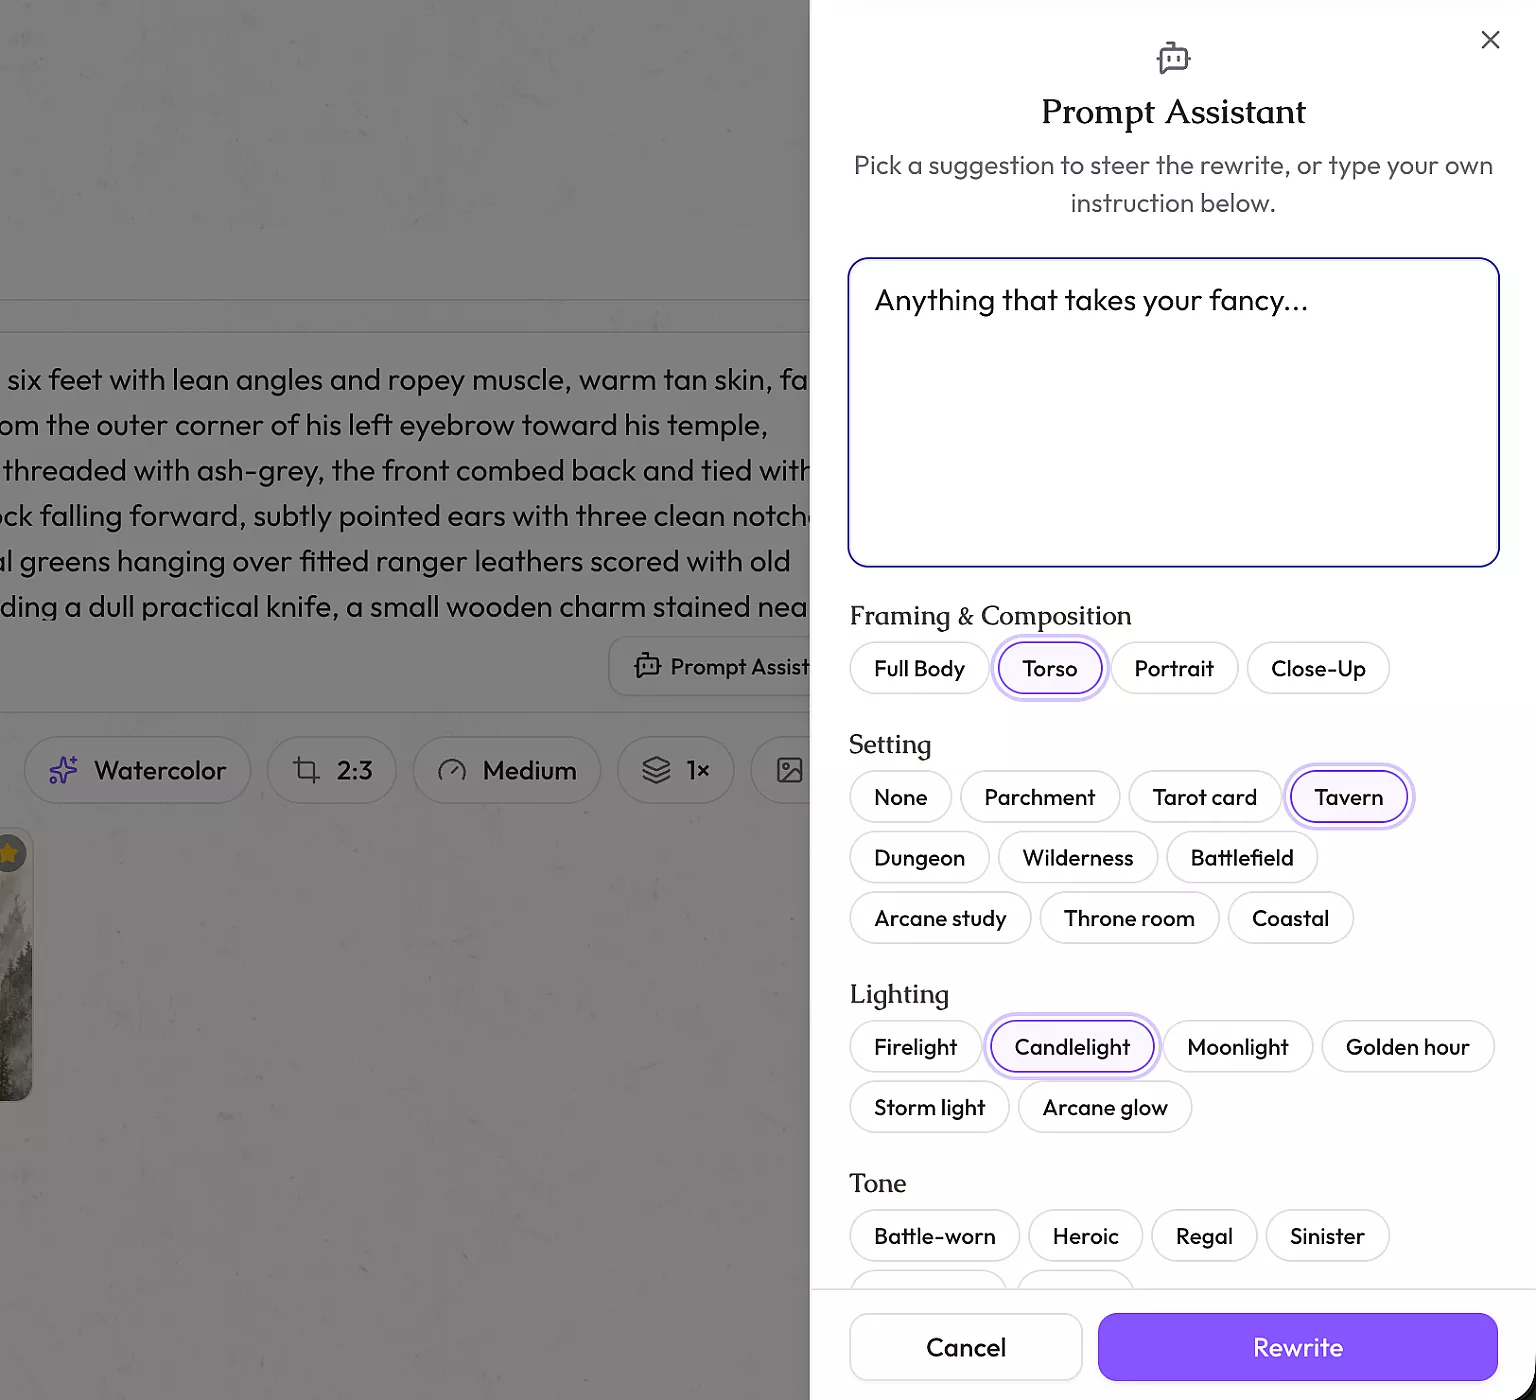
None of this costs anything either. Every pill tap and every Rewrite is just a text change, not an image. So you can tap through Framing, then Setting, then Rewrite, decide you hate it, and try something else. Do that as many times as you like. Credits only come into it once you generate the artwork, which is still a couple of steps away. For now, just get the prompt reading the way you want. Hand-typed, Assistant-steered, or a mix of the two all work.
Artwork options
You've got a prompt that sounds like Kaelen now. A few options left before you spend anything.
Aspect ratio
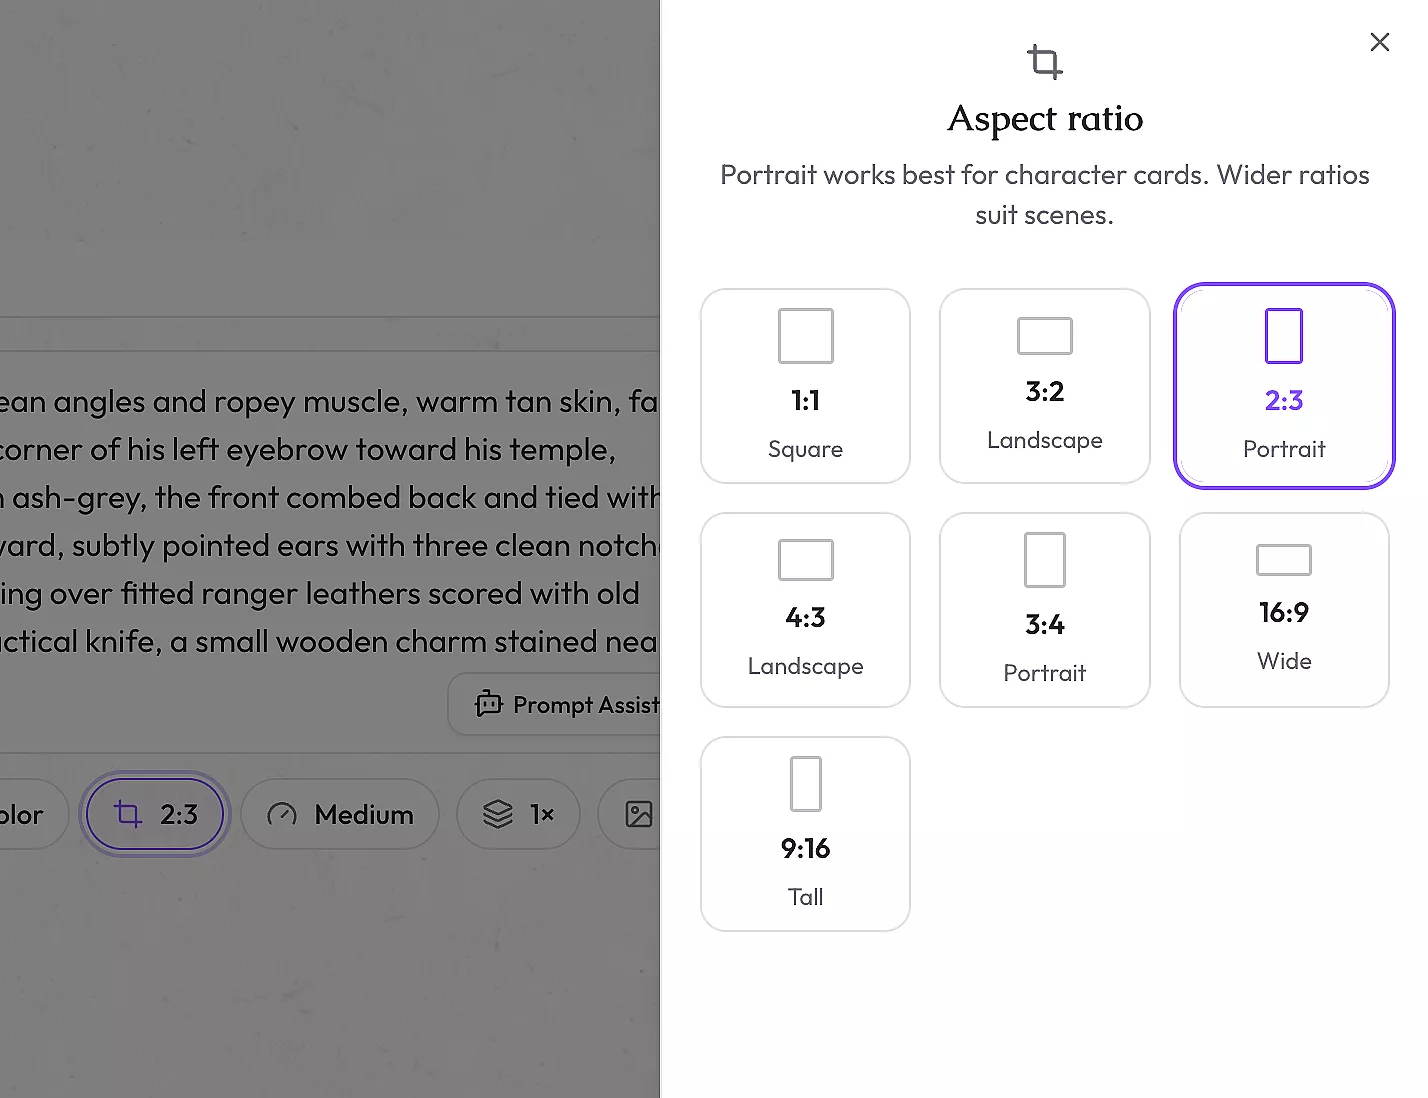
Start with the aspect ratio pill. It shows the current ratio, which starts at 2:3. Tap it and the "Aspect ratio" picker reads "Portrait works best for character cards. Wider ratios suit scenes." For a character portrait, stick with a portrait ratio. You're building Kaelen's card image, not a landscape.
Effort
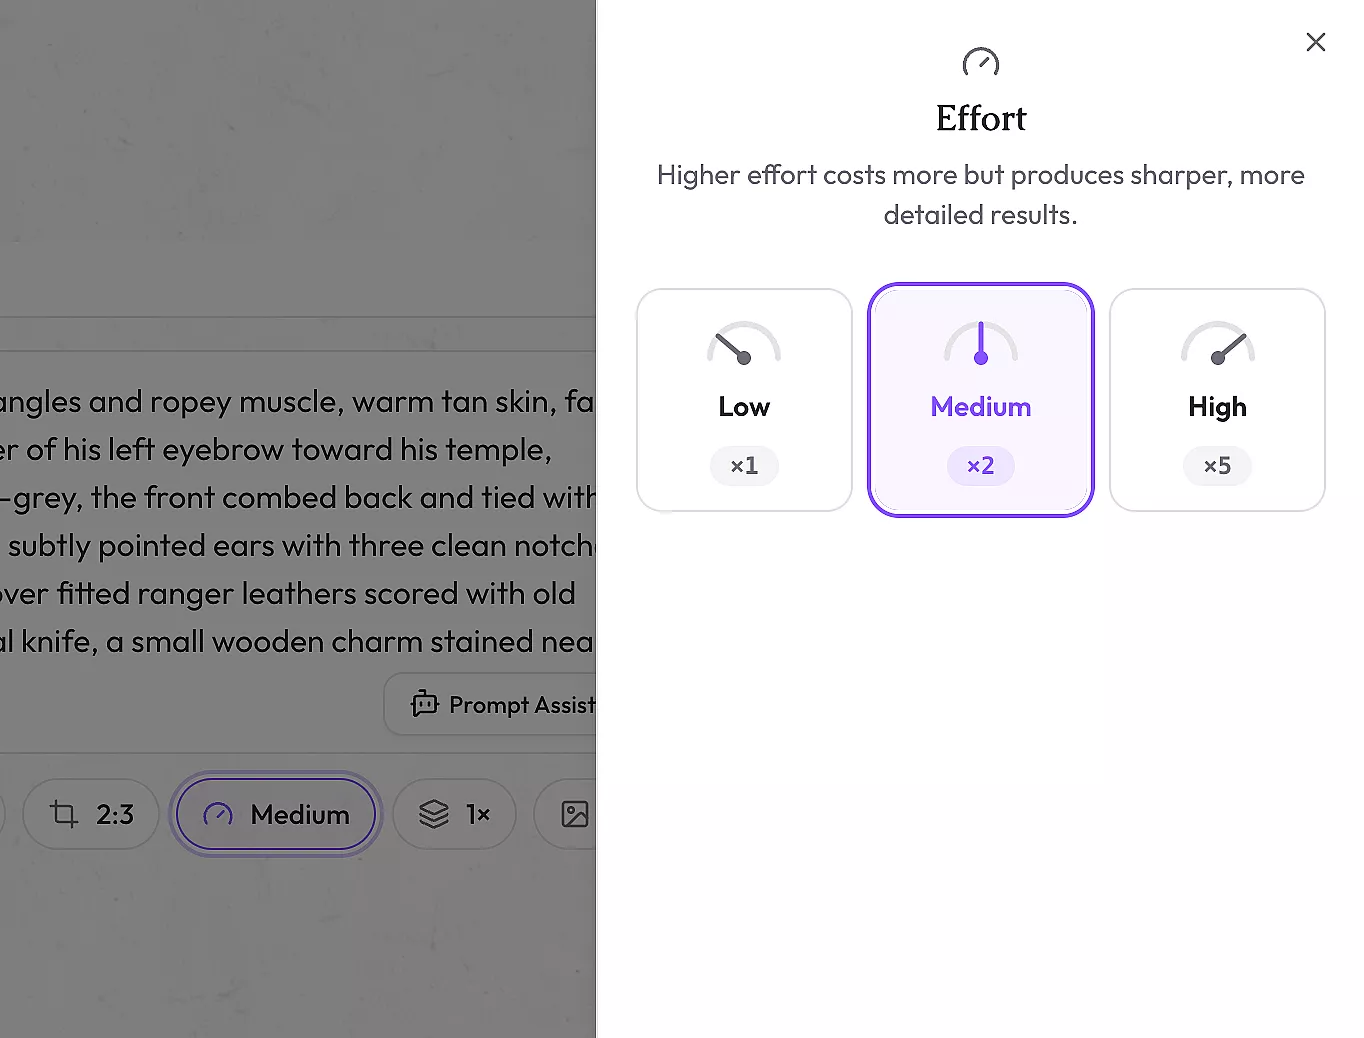
Next to it is the Effort pill. Effort runs low, medium, or high.
Medium is the default and a fine place to start. The picker tells you the trade. It reads "Higher effort costs more but produces sharper, more detailed results." Low is quick and cheap. High is your best shot at a clean result. Medium sits in the middle and is plenty for Kaelen.
I'd generally recommend using medium unless you're going for extremely high detail, high effort generations get expensive quickly.
Output count
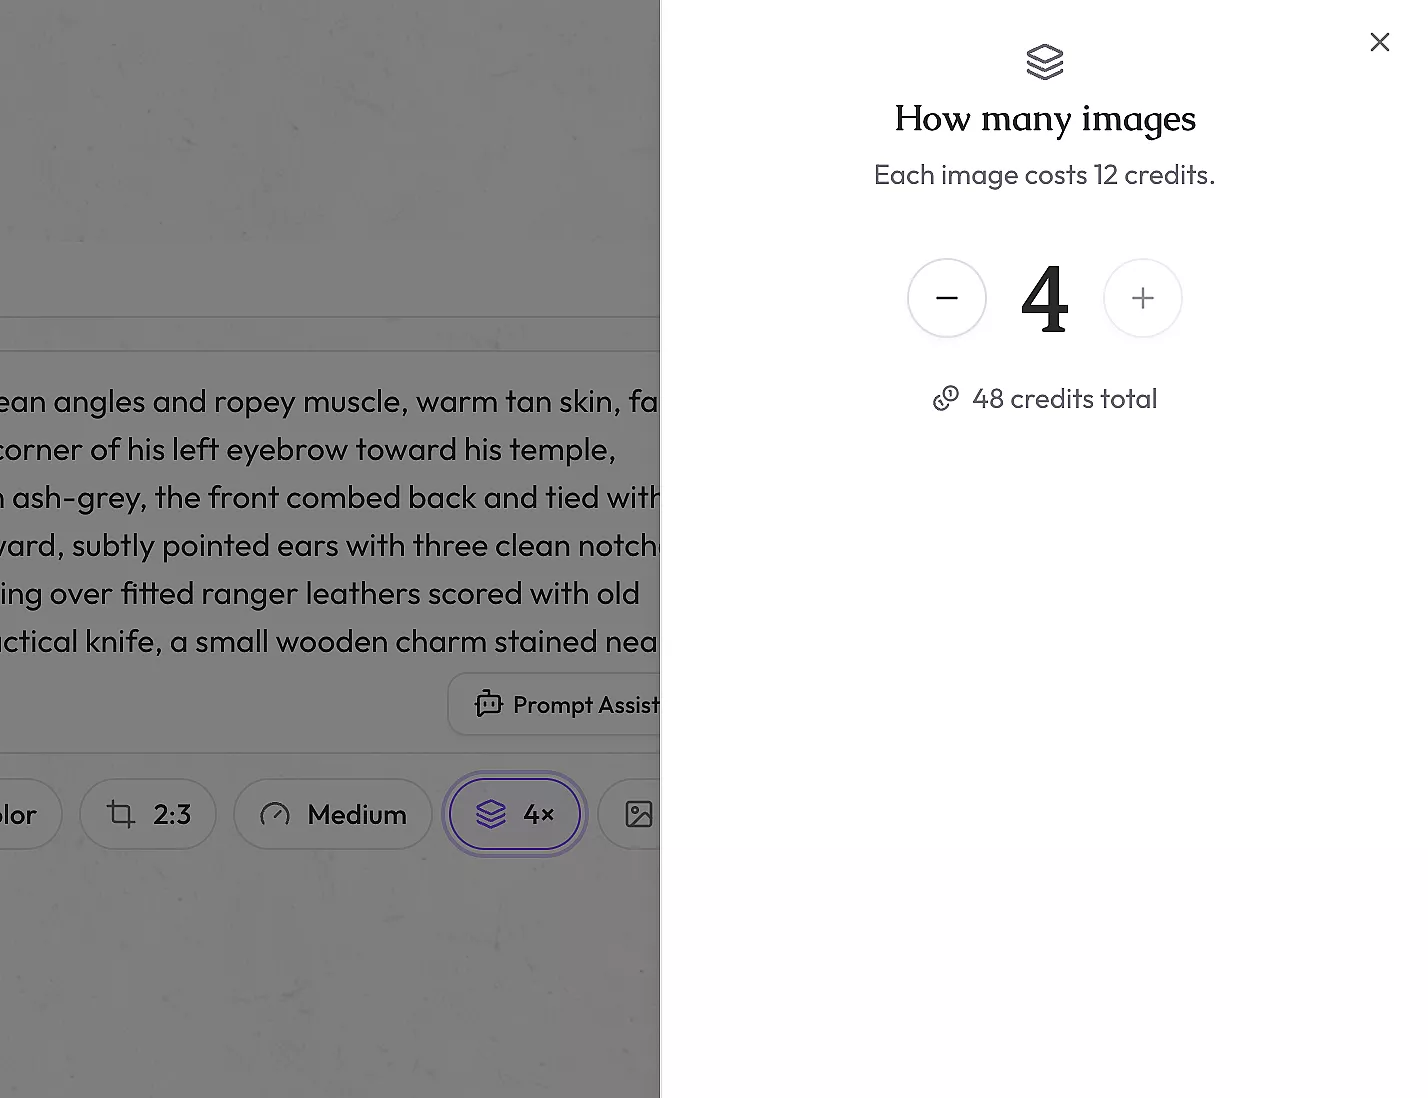
The output-count pill shows how many images you're about to make, like "1×". Bump it up and the picker shows what each image costs, with a running total underneath so you can watch the bill add up. More images means more to choose from at the end. Each one adds to the cost, so one is fine for now.
Reference images
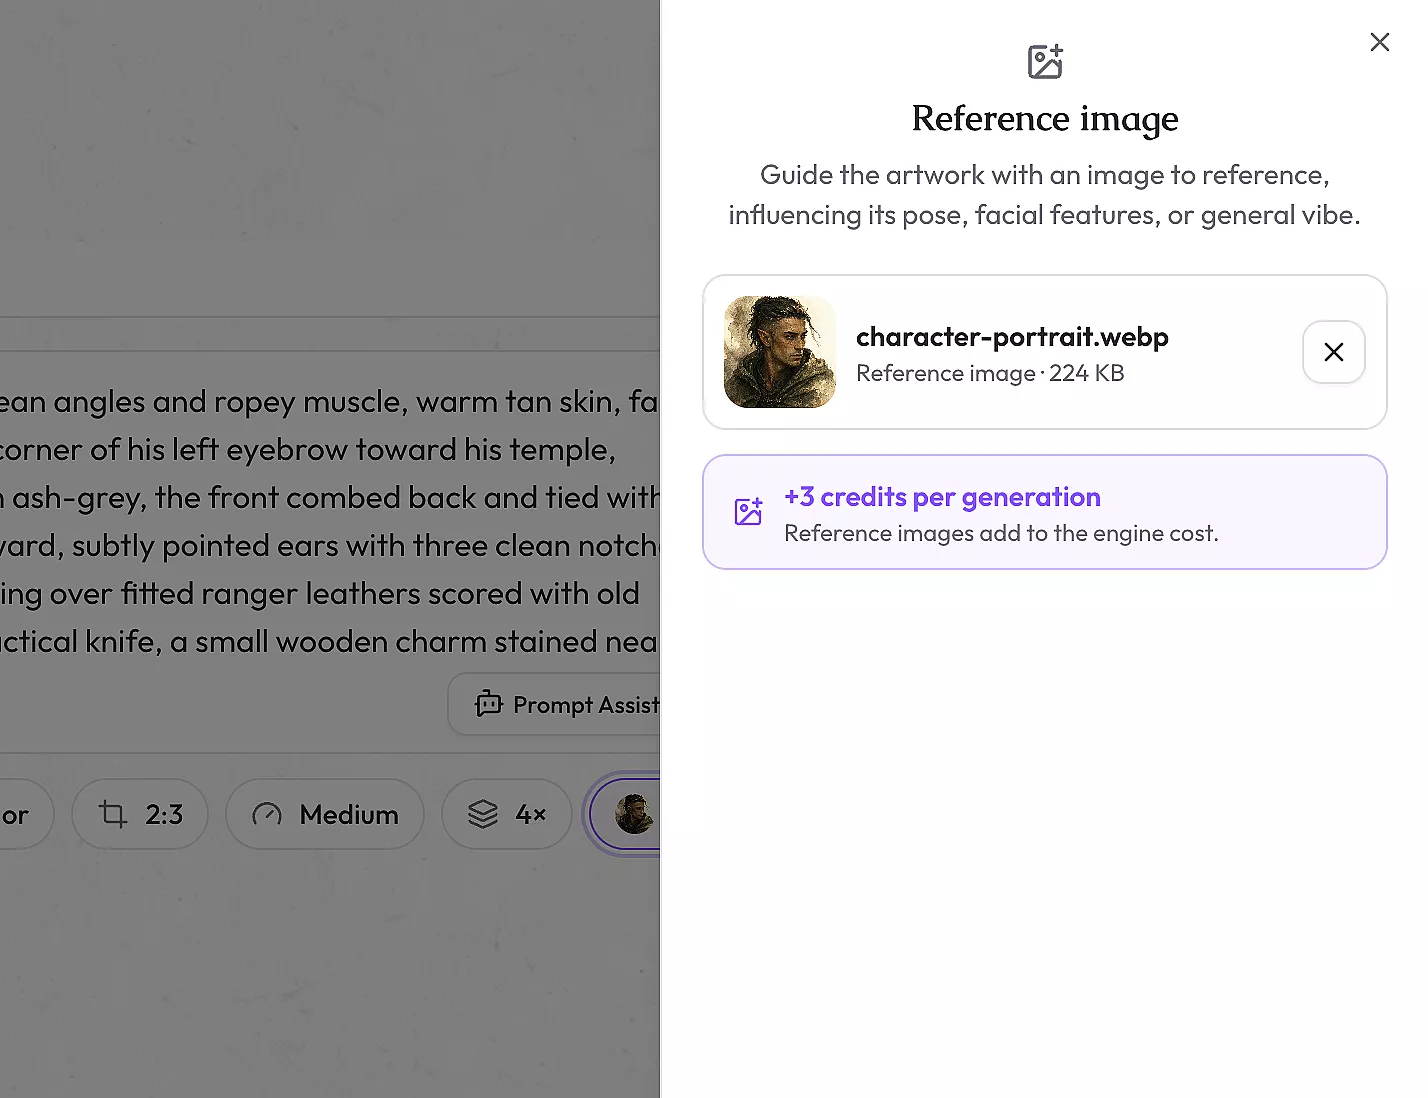
There's also a "Ref" pill, short for reference image.
You can drop, paste, or click to upload one. Uploading a reference image will guide the process of generation. So if you want your character to emulate a specific face or vibe, you attach the reference image and let it guide the AI.
You can also instruct the generator in the prompt how you want to use that reference image. For example you could say "Use the pose from the attached reference image", and it will attempt to take on that detail specifically.
Whatever you pick, the Generate button always shows the total credit cost next to a coin icon before you commit. Raise the effort, add more images, attach a reference, and the number on the button updates every time.
Running the generator
The credits come out the moment the generation queues, not when the images finish. So if you navigate away or your connection hiccups, you won't get double-charged when you come back.
Once it's queued, you don't need to sit there refreshing. The images show up live as each one finishes, however many you asked for. Leave the tab open, go refill your coffee, come back to a set of portraits waiting for you.
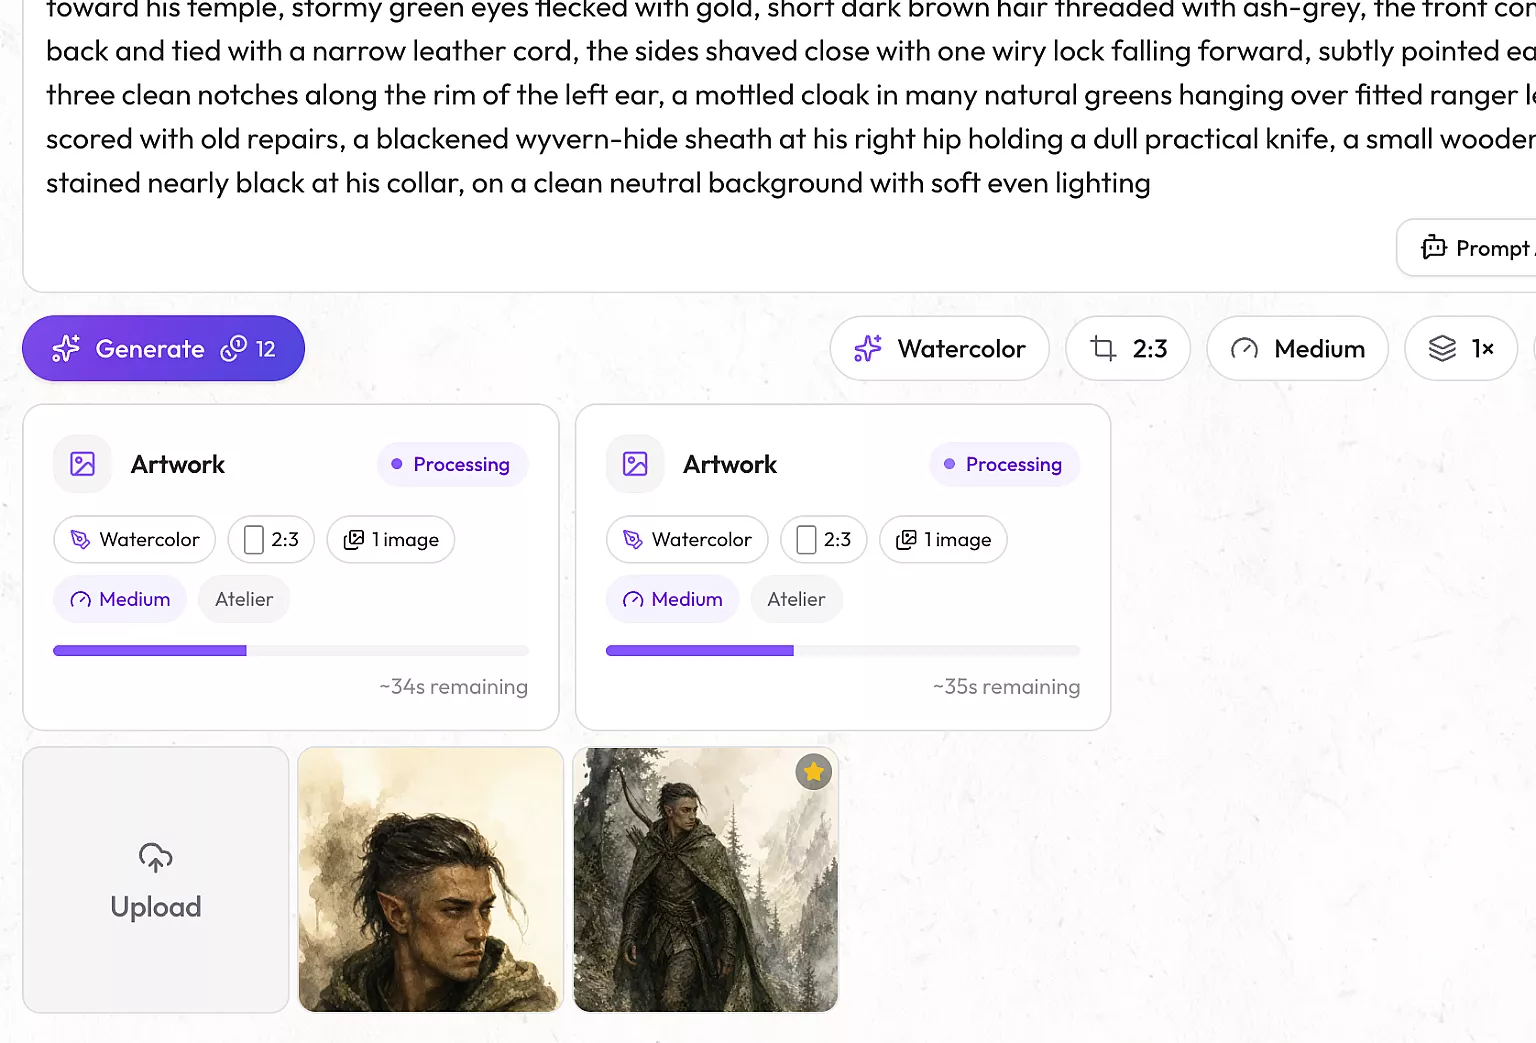
Two safety nets, so you can spend without second-guessing.
If a generation fails, your credits come back automatically. There's nothing to request or chase. You can retry when you're ready, which queues a fresh charge since it's a new attempt. And if you change your mind mid-generation, you can cancel anything still queued or processing, and that refunds the credits too.
So if you spot a typo in the prompt right after hitting Generate, you're not stuck waiting it out.
Artwork actions
You've got a batch of Kaelen in the library now, a few takes on the same idea with some closer than others. Time to pick the one you actually like.
Open the image and hit its "Actions" menu. That's where you decide what happens to that specific portrait.
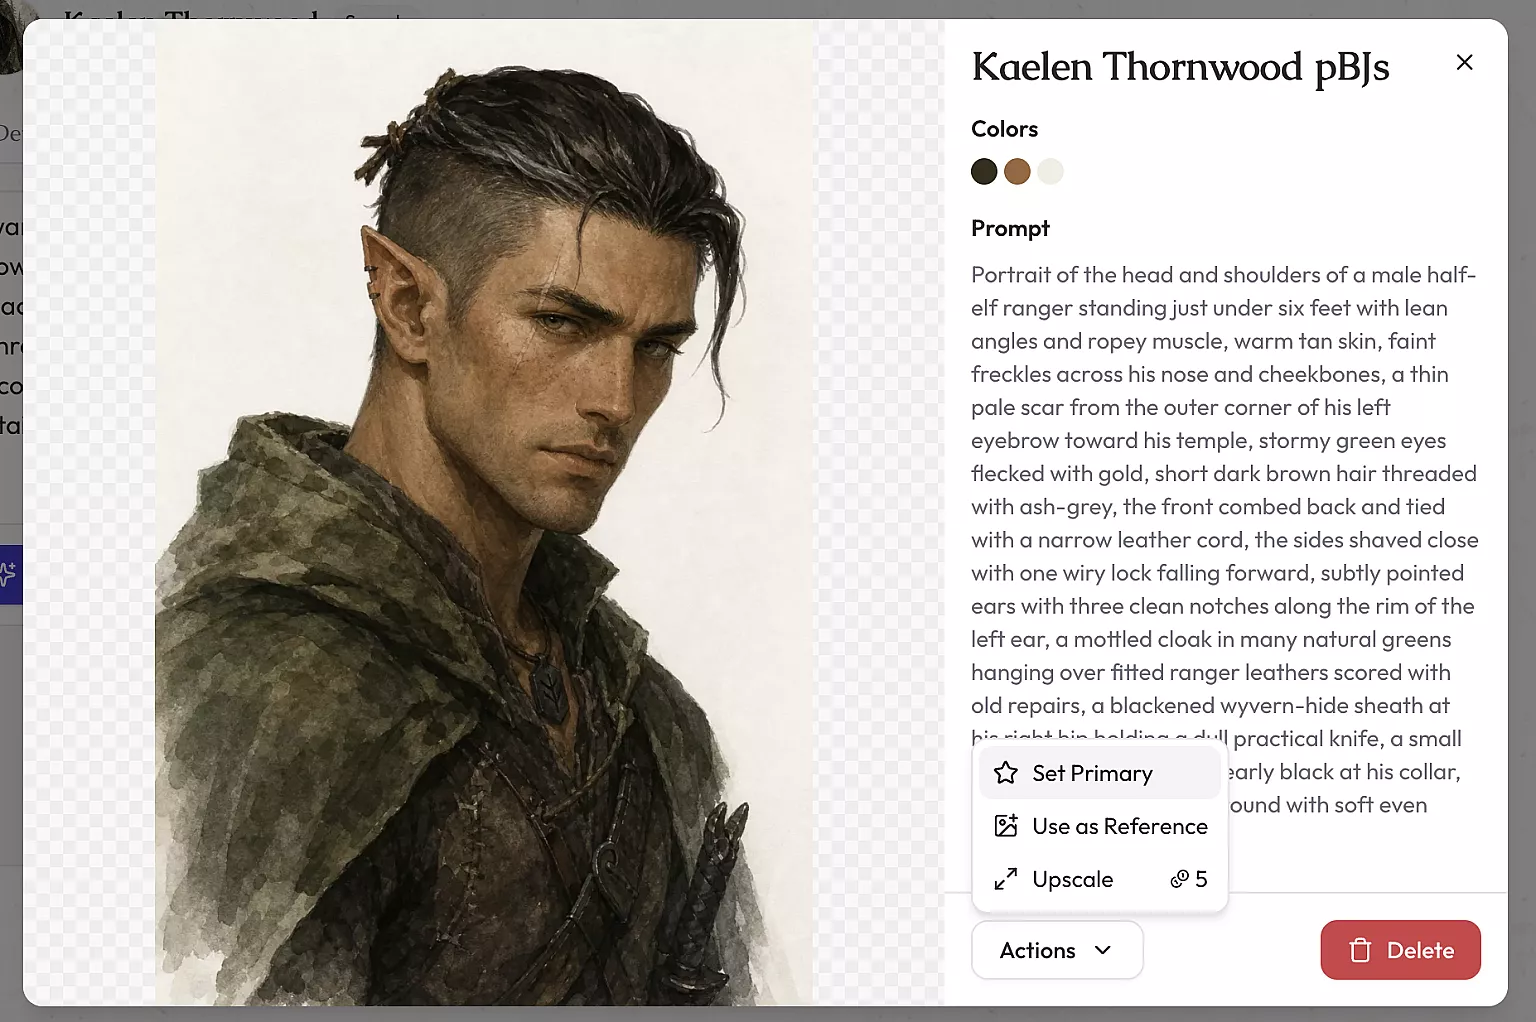
Set as primary
That image is now Kaelen's cover, in place of the sample art he came with. It's what shows on his card in your character list and on his public Codex page, the same shareable page you'll eventually send players to. A star badge marks whichever image is the "Primary image," so even with a dozen pictures in the library you can always tell which one is doing the job.
Upscale
Upscale makes a higher-resolution version, handy if you want to print it or use it as a big Codex hero shot. It's a separate generation with its own credit cost shown right there in the menu. Upscaled images get their own up-arrow badge ("Upscaled image") so you can tell them from the originals.
Use as reference
Use as Reference loops back to that "Ref" pill from a couple of steps ago. It feeds this image in as the reference for your next generation. So if one portrait nailed the pose but you want it in a different style, that's how you build on it instead of starting cold.
One more thing, because none of this needs AI if you'd rather it didn't.
The "Upload" tile next to your generations lets you bring in your own artwork instead. Commission a piece, scan a drawing, whatever you've got. The "Upload Artwork" dialog just asks for the file and drops it into the same library, with the same Actions menu and the same Set Primary option. The generator is there when you want a fast starting point, not because it's the only way in.
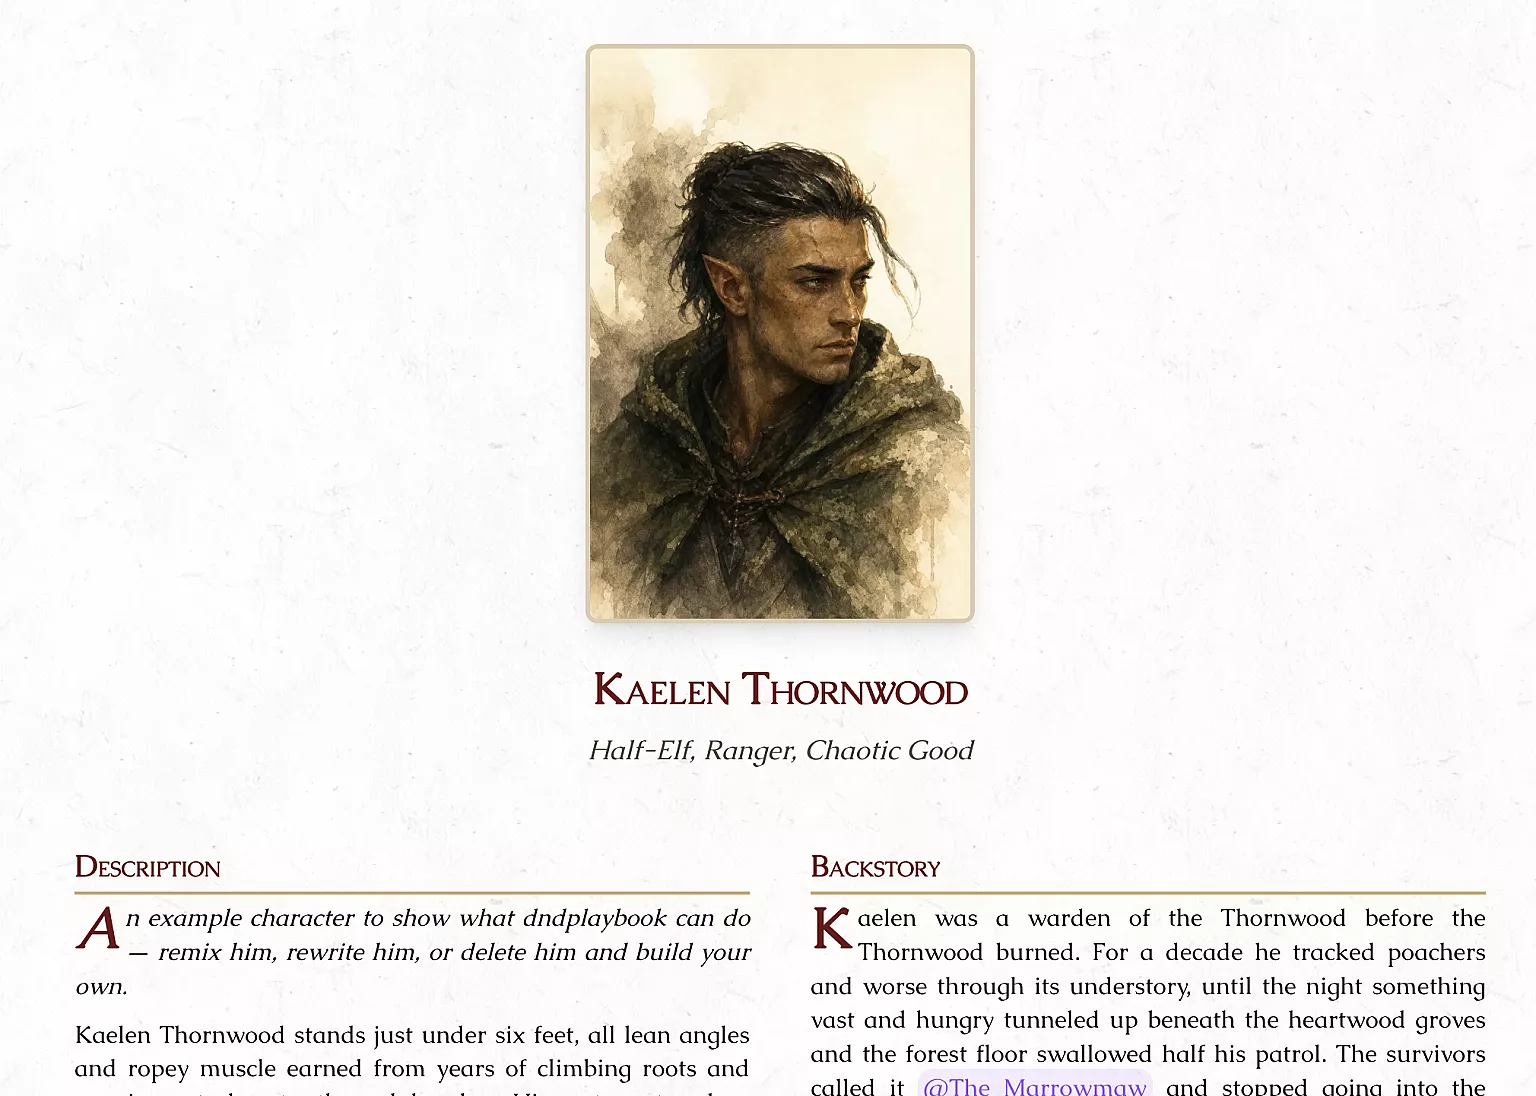
The same steps work for every NPC, monster, item, and location you build from here.
Happy Dungeoning
-- Charles